
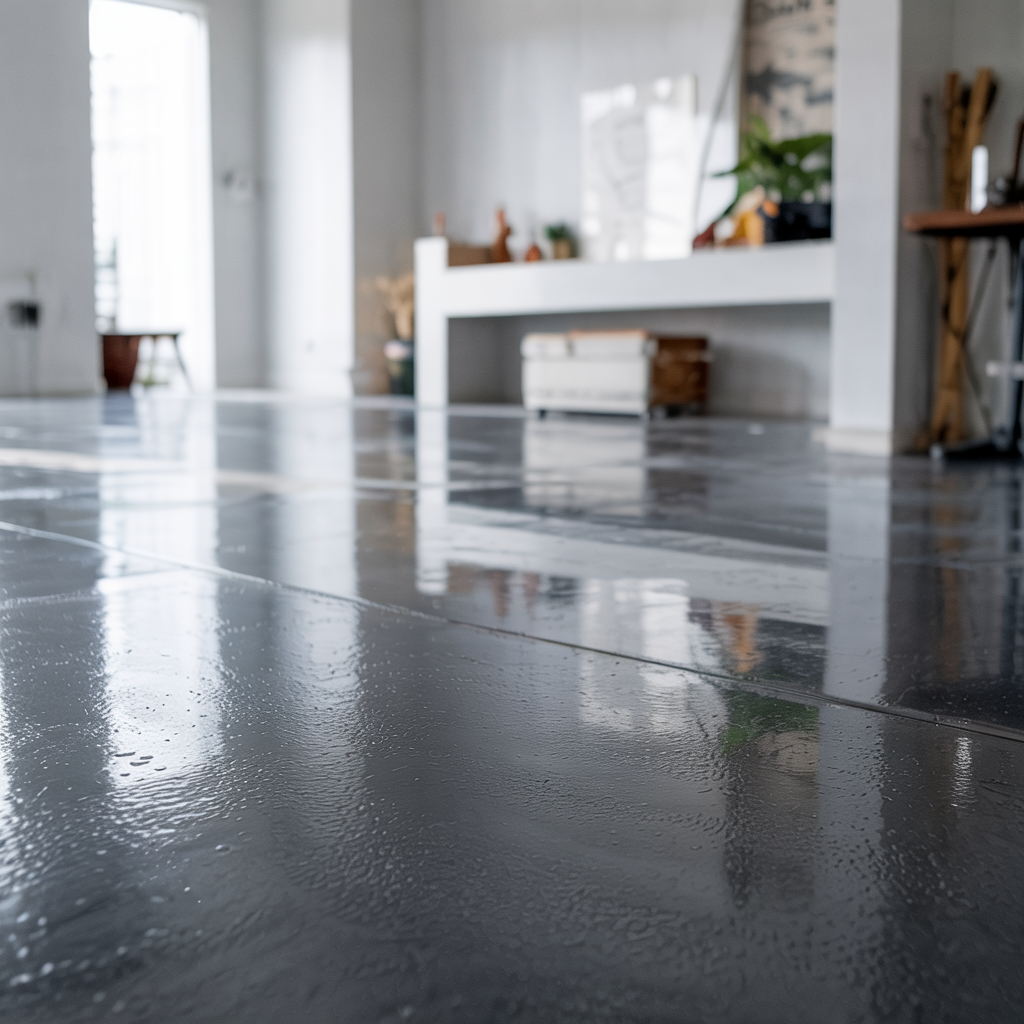
If you’ve ever seen a flawless epoxy floor coating, you already know how sleek and polished it can look. What most people don’t see is the professional process behind it. Installing epoxy isn’t as simple as painting concrete — it requires technical skill, surface preparation, and experience. At Gerber Concrete Coatings, we follow a proven installation method that ensures your floor performs for years, not months. 💪
Professional epoxy flooring is about science, not shortcuts. Here’s how we do it.
🧱 Step 1: Surface Preparation — The Foundation of Lasting Floors
Every durable epoxy floor begins with proper prep. Concrete is porous, dusty, and damaged by vehicle heat, moisture, or chemicals. If you simply coat over it, epoxy will peel and bubble.
At Gerber Concrete Coatings, we use industrial diamond grinding to open the concrete and remove surface contamination. This creates the mechanical profile epoxy requires to permanently bond.
We also:
- Repair cracks and chipped areas
- Fill joints or pitting
- Check for moisture and humidity
- Remove failing coatings or paint
The quality of a floor is determined before the first drop of epoxy ever hits it.
🧬 Step 2: Primer & Base Coat — Chemical Bonding Begins
Once the surface is properly prepared, we apply a professional-grade epoxy primer. This begins the chemical bond with the concrete and seals microscopic pores.
Then comes the base coat, which becomes the structural backbone of your floor.
This is where DIY kits fail — no real primer, weak resin mixes, and thin film thickness.
Professional epoxy flooring is thicker, stronger, and designed for heavy use.
🎨 Step 3: Texture, Flakes, Metallics, or Quartz
Here’s where your floor becomes yours.
Depending on the design:
- Decorative color flakes are broadcast evenly into the epoxy
- Metallic pigments are swirled to create a marbled effect
- Quartz aggregates are applied for heavy-duty texture
These systems don’t just look good — they increase traction, hide imperfections, and improve long-term performance.
🔒 Step 4: UV-Stable Topcoat — Protection That Lasts
The final step is the topcoat — the shield that makes your floor tough.
We use industrial UV-resistant coatings that protect against:
- Hot tire lift
- Scratches
- Oil and chemical spills
- Sunlight discoloration
- Moisture and abrasion
This is the difference between a floor that lasts a few months and a floor that lasts multiple years.
We don’t cut corners — and neither should you.
🏆 Why People Trust Gerber Concrete Coatings
We do the job once, and we do it right.
Every installation is backed by professional equipment, decades of experience, and commercial-grade materials — not hardware store kits.
- Proven installation process
- Local Southern California experts
- Custom finishes designed for your space
- Residential, commercial, and industrial solutions
- Floors engineered to perform
If you want a floor that looks like a showroom and acts like a work surface, we’re the team for you.
📞 Call Today: 714.999.0110
🏆 Gerber Concrete Coatings — The Epoxy Flooring Specialists
Protect your concrete. Elevate your space. Enjoy your floor for years.