
🏠 Why Understanding the Epoxy Installation Process Matters
For many Yorba Linda homeowners, epoxy flooring looks deceptively simple. Online videos and DIY kits often suggest epoxy is just a roll-on coating that dries into a hard surface. In reality, epoxy flooring is a multi-step concrete coating system, and the installation process determines whether the floor lasts for decades or fails within months.
Understanding the epoxy installation process helps homeowners make informed decisions, set realistic expectations, and avoid costly mistakes. A professionally installed epoxy floor is not just a cosmetic upgrade—it is a structural protection system designed to bond permanently to the concrete substrate.
⚙️ Step 1: Evaluating the Existing Concrete Surface
Every successful professional epoxy installation begins with a detailed evaluation of the concrete slab. No two garages or concrete surfaces are exactly alike, especially in established Yorba Linda neighborhoods where homes may be decades old.
Technicians assess:
- Concrete age and condition
- Existing cracks, pitting, or spalling
- Oil or chemical contamination
- Previous coatings or sealers
- Moisture vapor transmission
This evaluation determines the preparation methods, materials, and system design needed for long-term performance. Skipping this step is one of the most common reasons epoxy floors fail prematurely.
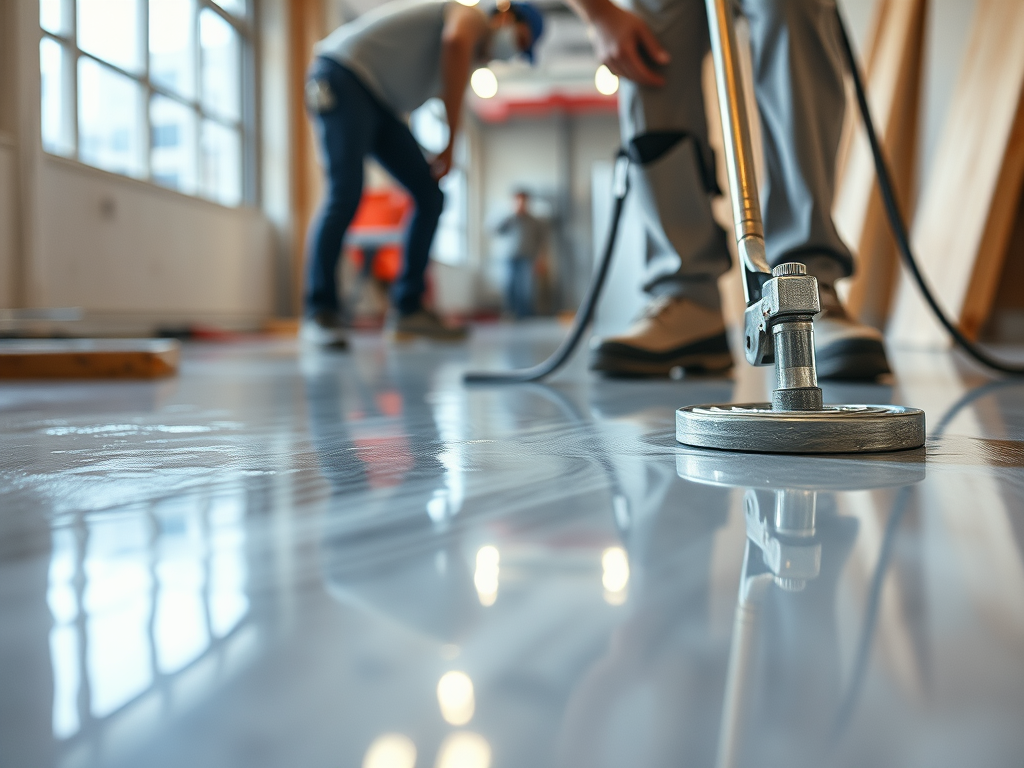
🧱 Step 2: Mechanical Surface Preparation (The Most Critical Step)
Mechanical surface preparation is the foundation of every durable epoxy floor. This step involves industrial diamond grinding to remove surface contaminants and open the concrete pores.
Unlike acid etching or pressure washing, mechanical grinding creates a consistent concrete profile that allows the epoxy to chemically and mechanically bond to the slab. This is essential for preventing peeling, bubbling, or delamination.
During this stage, technicians also address:
- Cracks and surface imperfections
- Uneven areas
- Weak or deteriorated concrete
Proper surface preparation is the single most important factor in the concrete coating process, and it is where most DIY installations fail.
🧠 Step 3: Moisture Testing and Vapor Barrier Considerations
Concrete naturally emits moisture vapor, even in dry climates like Yorba Linda. If moisture is not properly evaluated and addressed, it can push epoxy coatings off the slab over time.
Professional installers perform moisture testing to determine whether additional vapor mitigation steps are required. In some cases, specialized primers or moisture-blocking systems are incorporated into the epoxy system design.
This step protects Yorba Linda epoxy floors from long-term failure caused by hydrostatic pressure or moisture intrusion—issues that may not appear immediately but can destroy coatings years later.
🧪 Step 4: Base Coat Application and Concrete Bonding
Once the surface is fully prepared and moisture concerns are addressed, the epoxy base coat is applied. This layer penetrates the concrete surface and creates the primary bond between the slab and the coating system.
The base coat must be mixed precisely and applied evenly to ensure consistent thickness and adhesion. Improper mixing or rushed application can compromise the integrity of the entire system.
In a garage epoxy installation, this base coat also serves as the foundation for decorative and protective layers.
🎨 Step 5: Decorative Elements and Texture Options
After the base coat is applied, homeowners may choose to incorporate decorative flakes, quartz blends, or textures. These elements enhance appearance while also adding functionality.
Decorative systems can:
- Improve slip resistance
- Hide surface imperfections
- Create custom color designs
- Enhance visual depth and brightness
For Yorba Linda homeowners who use their garages as functional living spaces, these design options transform the garage into a clean, polished extension of the home.
🛡️ Step 6: Protective Topcoat for Long-Term Durability
The final layer in the epoxy installation process is the protective topcoat. This layer seals the system, adds chemical resistance, and protects against UV exposure, abrasion, and impact.
High-quality topcoats resist:
- Hot tire pickup
- Oil and chemical spills
- Scratches and abrasions
- Yellowing from sunlight
This protective layer ensures that professional epoxy installation delivers long-term performance with minimal maintenance.
🕒 Step 7: Proper Curing and Quality Control
Curing is not simply waiting for the floor to dry—it is a controlled process that allows the epoxy to reach full strength. Environmental conditions such as temperature and humidity are carefully monitored during curing.
Professional installers perform final inspections to ensure:
- Proper adhesion
- Uniform thickness
- Complete coverage
- Surface consistency
This attention to detail ensures the floor performs as intended from day one.
🧼 Step 8: Maintenance Expectations and Longevity
One of the biggest advantages of epoxy flooring is ease of maintenance. Once cured, epoxy floors require minimal upkeep.
Routine maintenance typically includes:
- Sweeping or dust mopping
- Occasional damp mopping
- Prompt cleanup of spills
When installed correctly, epoxy floors can last many years without peeling, cracking, or discoloration—far outperforming paint or sealers.
🚫 Why DIY Epoxy Installations Commonly Fail
DIY epoxy kits often skip critical steps such as grinding, moisture testing, and proper curing. As a result, many DIY floors fail within the first year.
Common DIY failures include:
- Peeling or bubbling
- Uneven texture
- Poor adhesion
- Premature wear
These failures often cost more to fix than professional installation would have cost initially.
🏁 Why Professional Installation Makes All the Difference
A properly installed epoxy floor is a long-term investment that protects concrete, enhances appearance, and improves functionality. The difference between short-term results and lasting performance lies entirely in the installation process.
For Yorba Linda homeowners, choosing a professional installer ensures the epoxy system is designed specifically for their home, climate, and usage needs.
📞 Trusted Epoxy Floor Installation in Yorba Linda
For homeowners who want epoxy floors done right the first time, Gerber Concrete Coatings delivers expert craftsmanship, proven materials, and meticulous installation standards.
📞 Call 714.999.0110 to schedule a consultation for professional epoxy floor installation in Yorba Linda.